Tests can only be created by authorized users.
* To authorize, go to the staff management menu [Cloud > Getting Started > What is the staff role?]
Making the test
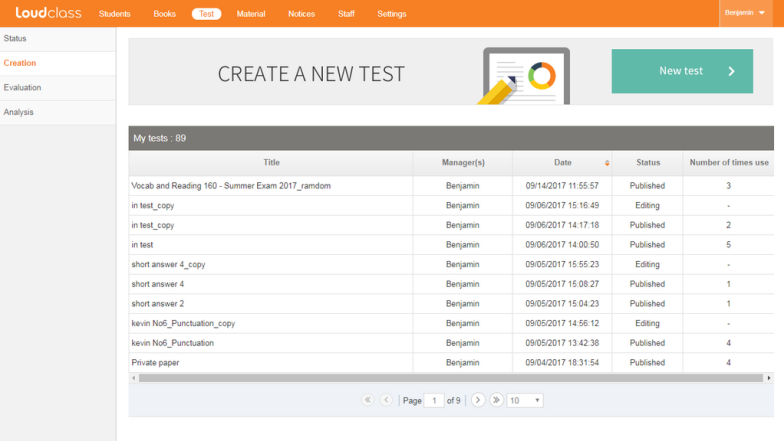
You can create a new textbook by selecting the test [New Test] under the test creation menu.
Inputting test information
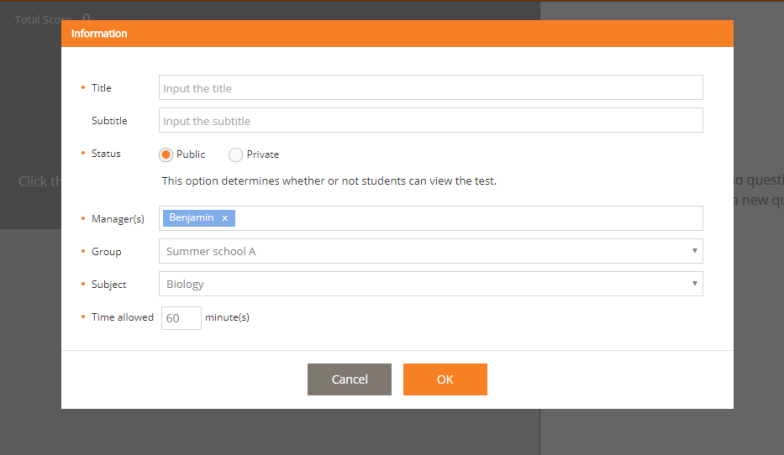
Enter the basic information of the test being created.
The title, publish status, group, and subject is required information.
Information
* Publish status : If you set the status as private, students will not be able to see the contents of the exam even after the results are released.
* Manager : When the test is created, the creator’s name is set as the test manager and cannot be deleted. The function of adding additional managers and saving their names is provided; their names can be added automatically by selecting them from the saved list. Added manager(s) can be deleted.
* Group : Specify the group of students who will take the exam.
* Subject : Specify the subject of the test.
* Test time : Input the time when the test will take place.
Test Creation
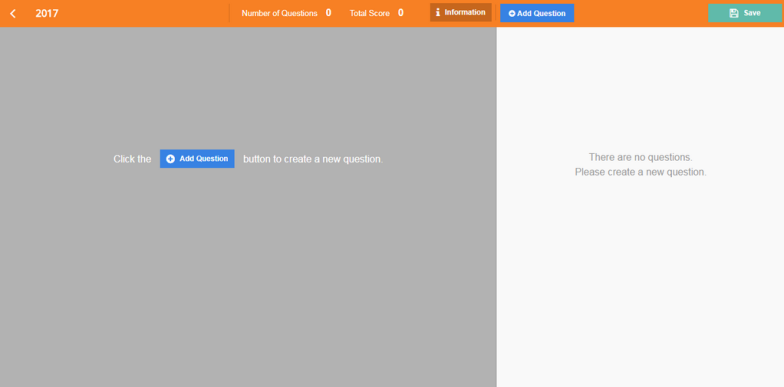
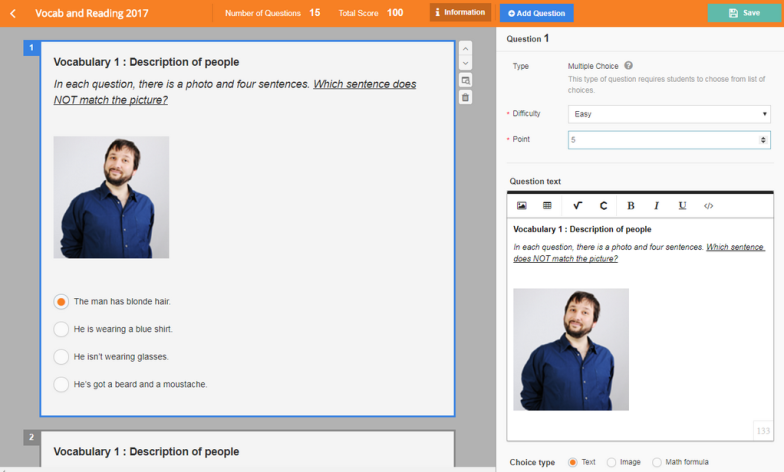
You can customize the test by using the “Add question” menu.
Preview Area
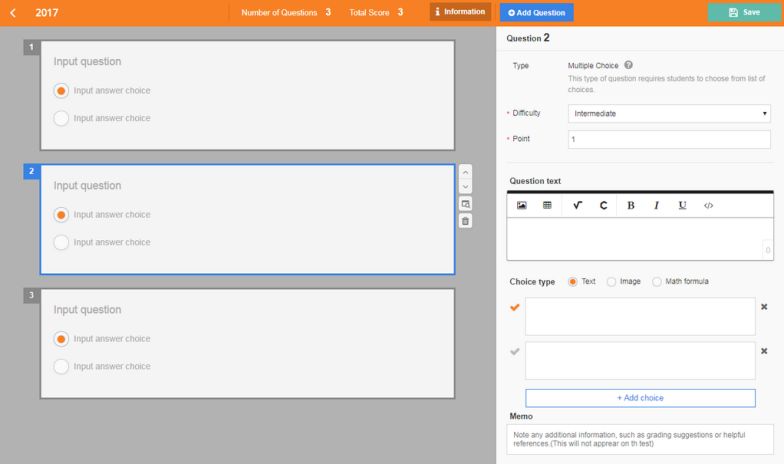
The preview area is an area that you can check in real time when adding/modifying a question.
Select “Add Question”, and if you select a question type from the popup, the new question will be displayed in the preview area. Based on the question type, the standard template is displayed, which you can use to being authoring. When a question is added, the details are shown as well as the move, preview, and delete buttons.
Question editing area
When you select question from the preview area, it is added to the edit panel for you to edit.
Depending on the question content, it will be saved automatically and reflected in the preview area.

